How to Clean a Wheelie Bin like a Pro – 8 Steps
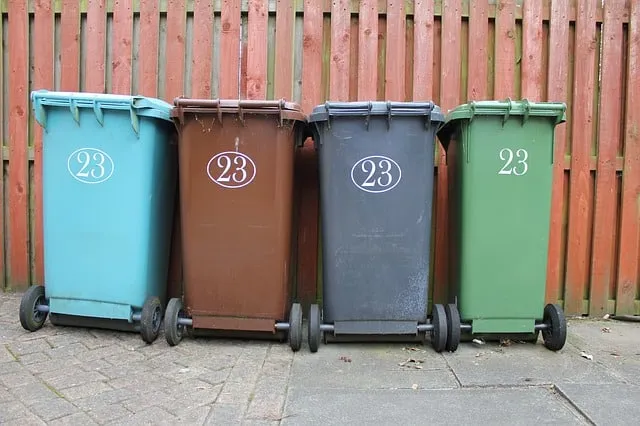
Learning how to clean a wheelie bin isn't complicated, but it's often side-stepped for other chores. Here are some more Things We Overlook When Cleaning. Wheelie bins, over time, can become a breeding ground for all sorts of germs, bacteria, and who knows what else – yuk! Although a wheelie bin’s purpose is to store trash, regular cleaning and general maintenance is still necessary.
CalibreCleaning’s experts have had their fair share of cleaning wheelie bins that have had it rough. Through proven bin cleaning methods and a bit of experimentation, we learned the best practices and tricks of the trade. So if yours is looking a little tired and needs some TLC, read our easy guide on how to clean a wheelie bin!
Step 1 – Gear up and Pick a Good Cleaning Spot
Cleaning your wheelie bin can be strenuous, especially if it's on the larger side and has stuck-on food stains. Before starting, wear rubber gloves and boots to avoid touching any questionable substance. You may also want to call in a favour, as it helps to have an extra pair of hands when it comes to wheelie bin cleaning.
After rubbish collection day, choose a spacious area to clean your wheelie bin that's well lit. You’ll also want to be close to your home's water supply to rinse your bin more than once.
Step 2 – Do a Basic Clean up of Your Wheelie Bin
Once your bin has been emptied, you'll probably notice hard bits of rubbish and debris stuck to the bottom and sides. It's always best to start slow before going all out to remove your wheelie bin's stench and grime.
Start by laying your wheelie bin down horizontally, so it's easier to get deep into the corners and crevices. Then, use a stiff-bristled brush to scrub off any stuck-on bits and pieces of rubbish from your bin. Ideally, you'll want a brush with a long handle to access hard-to-reach bin areas.
Here are some cleaning products you will want to have on hand when cleaning items around the home.
Step 3 – Rinse Your Wheelie Bin with a Garden Hose
Now you've taken out the larger items stuck in your wheelie bin, you can start rinsing off the surface grime. Use a garden hose with a high pressure nozzle or a pressure washer to blast out any grease and dirt. Do this until you've knocked off any stubborn leftovers.
Step 4 – Fill Your Wheelie Bin with Cleaning Solution
Fill up your wheelie bin 1/3 of the way up or higher (depending on how high your stains are) with hot or boiling water and add some dish washing liquid or sugar soap. Alternatively, adding some vinegar and lemon juice to your wheelie bin can help remove smells and loosen stuck-on dirt. The acetic acid in the vinegar is an effective wheelie bin cleaner, cutting through and softening stubborn stains and grime.
After you're done, close the lid and let your solution soak for 30 to 45 minutes.
Step 5 – Scrub Your Wheelie Bin
Once stains have been thoroughly soaked and begun to loosen up, it's time to scrub them off. Using a nylon string mop or an outdoor broom , push and rub the bristles in all different directions until the stain starts to lift. You can also use a coiled wire scrubbing brush to nuzzle into tight corners and clean those higher up stains.
To clean hard to reach stains more efficiently, slightly tilt your wheelie bin for easier access and scrub from the top. However, it's recommended to get a friend to help you – one pair of hands to tip the container and the other to clean.
Step 6- Rinse and Clean Again if Necessary
If you’re left with dirty water, drain your wheelie bin and repeat step 4-5. You'll also want to rinse your mop or scrub brush under a faucet to wash off any residue from your stains.
After your dirty bin has been thoroughly cleaned, give it a thorough rinse to remove any traces of soap. Hose down your bin from top to bottom, and wipe with a clean sponge or rag.
Step 7 – Scrub your Wheelie Bin Lid and Exterior
Drain your lid of any leftover cleaning solution and clean your wheelie bin lid and exterior with a good scrub using soapy water. For particularly stubborn grime and grease, try a magic eraser to cut through and lift it away. Lastly, give your wheelie bin the rinse it deserves and let it dry naturally.
Step 8 – Disinfect for a Pro-Level Clean
After completing the previous steps, chances are your wheelie bin has already started to smell fresh and look much better. But for the finishing touch, you'll want to give it a good disinfecting.
While bleach is the natural choice to disinfect your surface, you could also opt for natural disinfectant sprays. We recommend combining 1 cup of vinegar with 1 cup of club soda while adding 2 drops of tea tree oil. Once mixed, spray your solution all over your wheelie bin and give it a final rinse to conclude.
How to Clean a Wheelie Bin – Tips and Tricks
Part of maintaining a wheelie bin is ensuring it doesn't become filthy. By doing what’s necessary to prevent your bin from getting dirty, you’ll save yourself a lot of time and effort down the road.
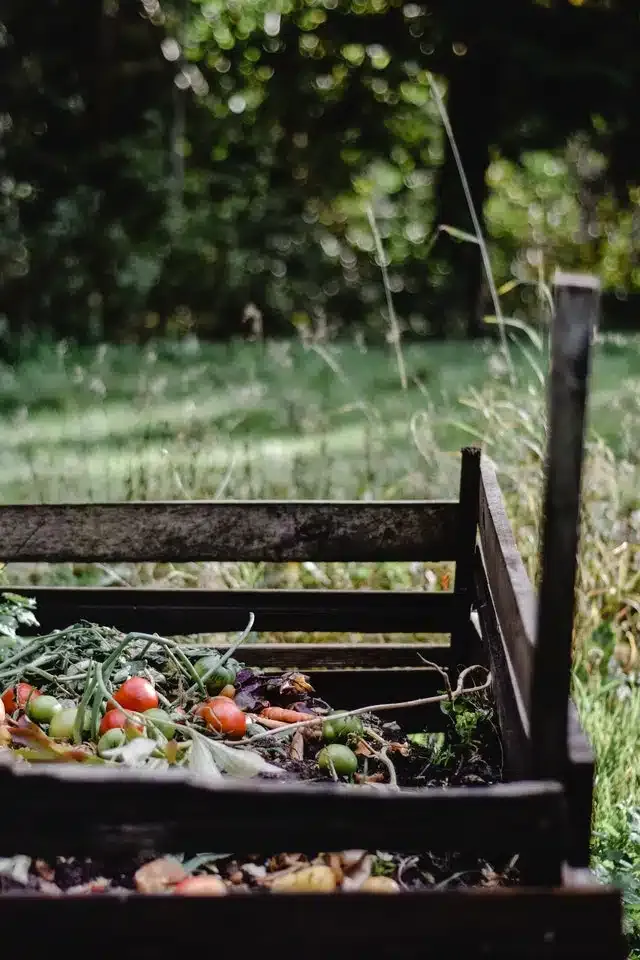
Invest in a compost bin to store food waste – You'll have a much easier time cleaning out wheelie bins, while deterring pests and disease-carrying critters to your home and yard.
Place newspaper on your bin's base: This will absorb excess moisture and liquids that fall onto your rubbish bin or wheelie bin, preventing it from building up and making everything nasty.
Don't allow maggots and other pests to thrive – If your bin has become a breeding ground for larvae, you'll need bleach to disinfect it, potentially cause surface discolouration. To prevent resorting to bleach, use bin liners and ensure you're cleaning your bin properly and frequently.
Sprinkle baking soda on your bin's bottom – This will help deodorise your bin by absorbing foul odours.
Clean your bin once a month: Whether it'd be your bbq, fridge, or wheelie bin, frequently cleaning is keep them looking their best. Cleaning your bin monthly will ensure any food scraps and liquids are entirely removed, leaving no room for them to rot and stink things up. For larger households that throw out more waste, try cleaning every fourth night.
Think cleaning your bins
CalibreCleaning – Professional Residential Cleaning Services
If cleaning chores aren't your cup of tea, don't hesitate to contact our team of professional cleaners from CalibreCleaning. We offer a wide range of cleaning services across Australia's major cities, like Adelaide, Brisbane, Canberra, Gold Coast, Hobart, Melbourne, Perth, and Sydney. We also offer End of lease or bond cleaning in Adelaide, Brisbane, Canberra, Gold Coast, Hobart, Melbourne, Perth, and Sydney.
From general home cleaning services to End of lease cleans, contact CalibreCleaning at 1300 991 368 and get a free quote! Meanwhile, if you are looking to clean your garage, here are some tips that you may find useful.
Meanwhile, if you're looking to change your outlook on cleaning chores, here are Tips On How To Make Cleaning Fun.
Last updated: 7 February 2023
Back to ArticlesNeed Help Cleaning Your Home?
Get an instant quote and book professional cleaners today.